Offering one-on-one sessions can be a great way to provide personalized attention to your clients. By integrating Knorish, Calendly, and MS Teams, you can streamline the scheduling and hosting process, making it efficient and professional. This article will help you set up and manage one-on-one sessions, ensuring a seamless experience for you and your clients.
Covered In This Article
- Setting Up Free Meetings
- Setting Up Paid Sessions Via Calendly (Calendly Paid Subscription Needed)
- Setting Up Paid Sessions Via Knorish
- Important Considerations
Prerequisites & Setting Up Basics
To get started, you need to ensure you have the necessary accounts and access rights. You will need:
- Active Knorish Subscription
- Access to MS Teams license by Knorish
- Calendly free or paid subscription
- Connecting Your Calendar and MS Teams with Calendly
How To Sign Up On MS Teams With Knorish Credentials & Download The App?
Here’s how to access the MS Teams license to use the license offered by Knorish and download the app:
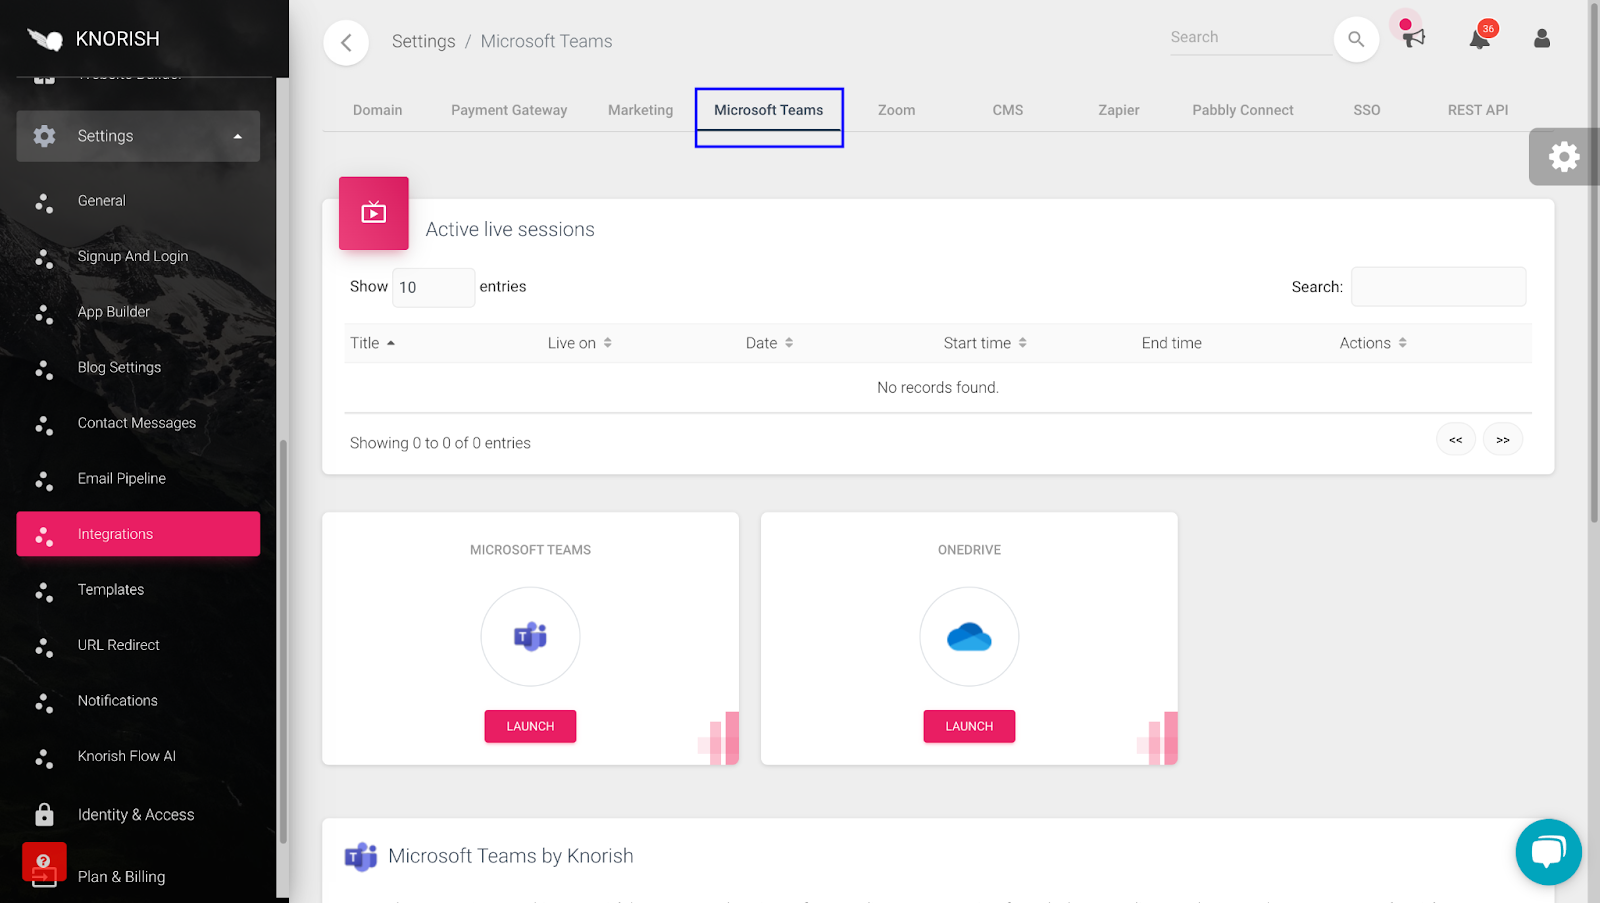
- Access your Knorish account > Startup
- Click on Settings > Integrations > Microsoft Teams
- Scroll down to the bottom
- Click on Launch under Microsoft Teams
- On MS Teams, copy and paste the credentials from the section below on the page
- Download MS Teams on your device/ laptop
You will be signed in to MS Teams.
How To Signup On Calendly & Connect MS Teams & Your Calendar To It?
Setting up Calendly and connecting it to MS Teams is essential for seamless scheduling and hosting of your one-on-one sessions. Follow these steps to get started:
Calendly Signup
Setting up a Calendly account is easy. Depending on the features needed, you may choose a plan that best fits your needs.
- Sign up on Calendly at Calendly.com
- Complete your profile details
- Create the event for the meeting options setup
- Customize the account as needed.
For details on account setup, checkout Calendly’s New user guide
Integrating MS Teams With Calendly
To automatically generate MS Teams meeting links for your scheduled events, integrate MS Teams with Calendly. Here’s how:
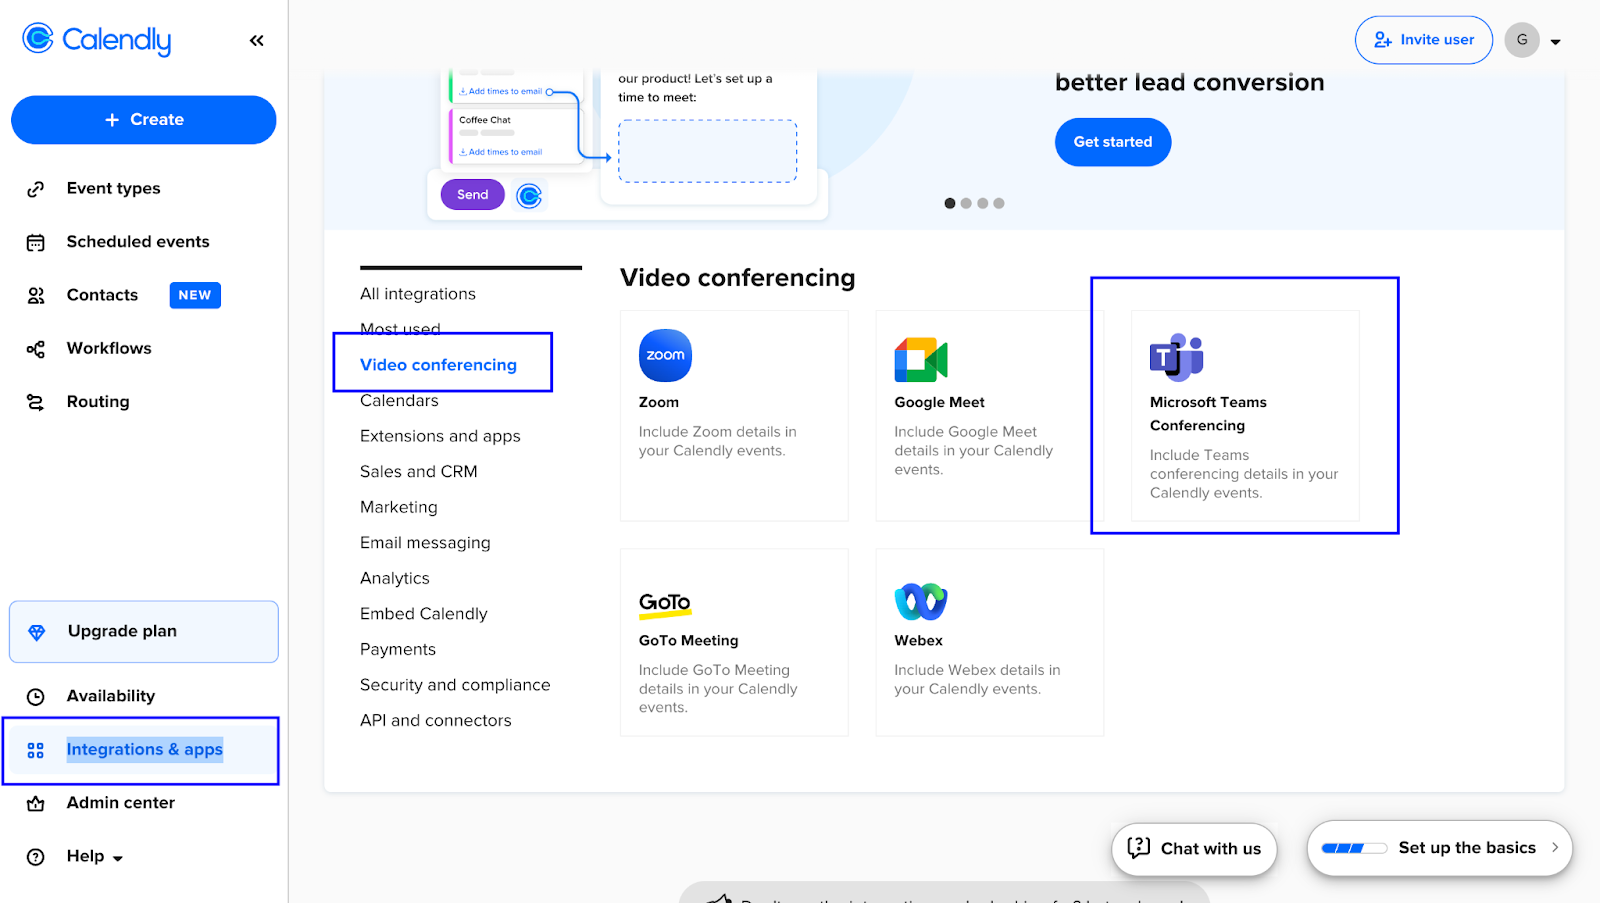
- Click on Integrations & Apps > Video Conferencing
- Select MS Teams Conferencing
- Enter the credentials shared by Knorish for MS Teams
- Accept permissions as needed and follow the prompts to complete the integration process
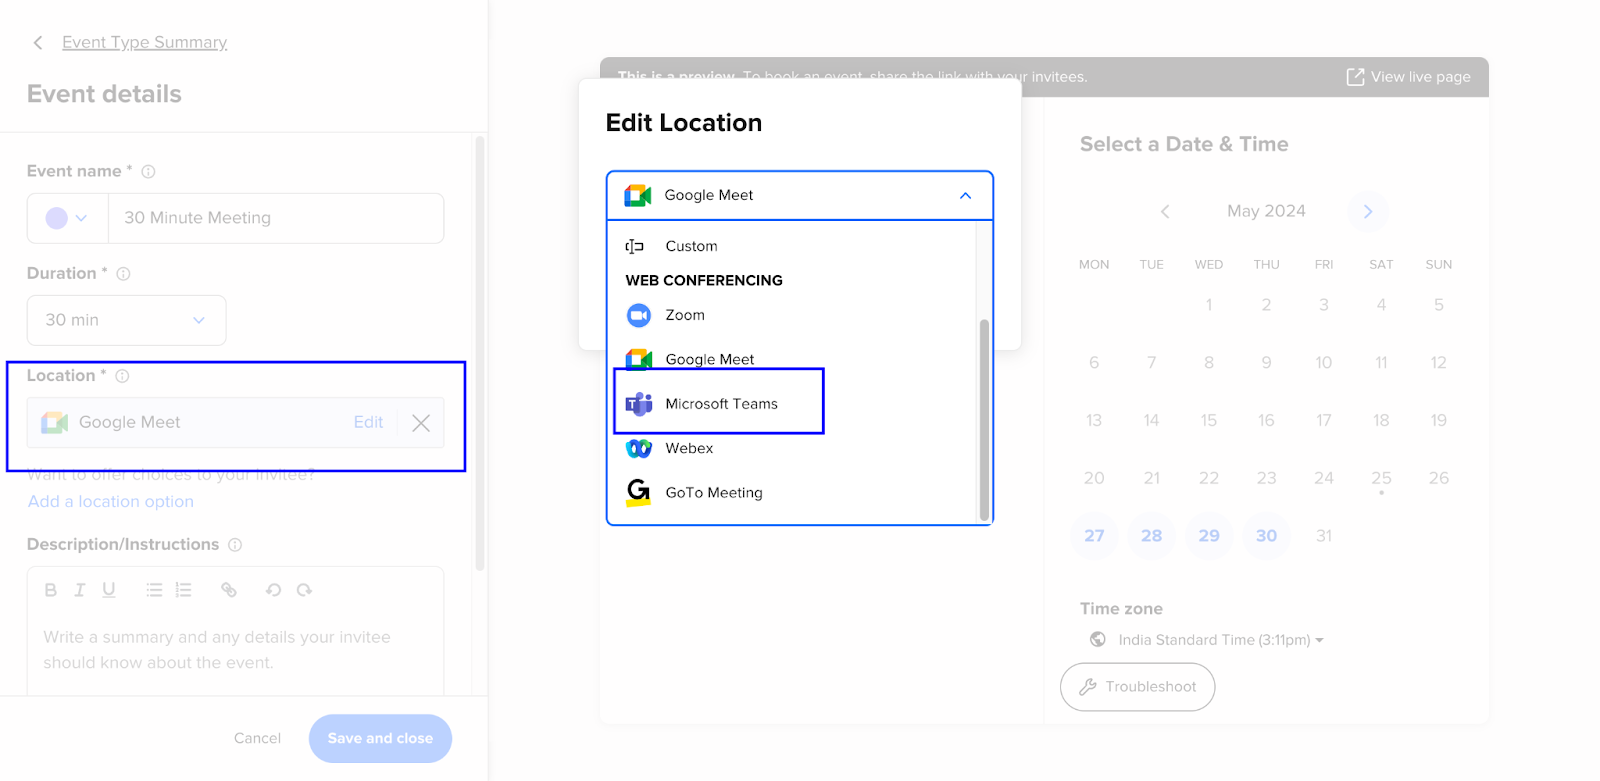
- Go back to event types in Calendly
- Select the event type you want to edit
- Under "Location," choose "Microsoft Teams" as the meeting location
- Save changes
MS Teams will be integrated with Calendly. For more details and to learn more about MS Teams integrations, checkout: Calendly + Microsoft Teams Conferencing
Integrating Your Calendar With Calendly
Connect your calendar of choice to sync your availability and meeting reminders.

- Access your Calendly account
- Click Integrations & Apps > Calendars > Google Calendar
- Login to your google calendar
- Authorize Calendly to connect with your calendar
All future bookings and calendar availability will be synced with Calendly. Please note that without this step being completed, Teams meeting links generated by Calendly will not show on your calendar.
Setting Up Free Meetings
For those who want to offer free sessions, here’s how to set it up using Knorish and Calendly.
- On Calendly, copy the scheduling link for your event
- Access Dashboard > Website Builder
- Click on New Page & select a page template
- Click Use to install the page
- Under Edit page, update name, slug, title for SEO and other details
- Select Publish this page at the bottom
- Click Save
- Click Edit with Visual Builder
- Update page information
- Add meeting details as needed
- Connect the Calendly link to the CTA button
- Click on Save.
Customers will now be able to visit your landing page and reserve a one on one meeting with you. If your calendar is also integrated, Calendly will automatically reserve the slot in your calendar and send a confirmation email with the MS Teams meeting link as a reminder.
Setting Up Paid Sessions Via Calendly (Calendly Paid Subscription Needed)
Setting up a paid session on Calendly via Knorish and MS Teams remains similar to the free sessions setup process. Here’s how to do it:
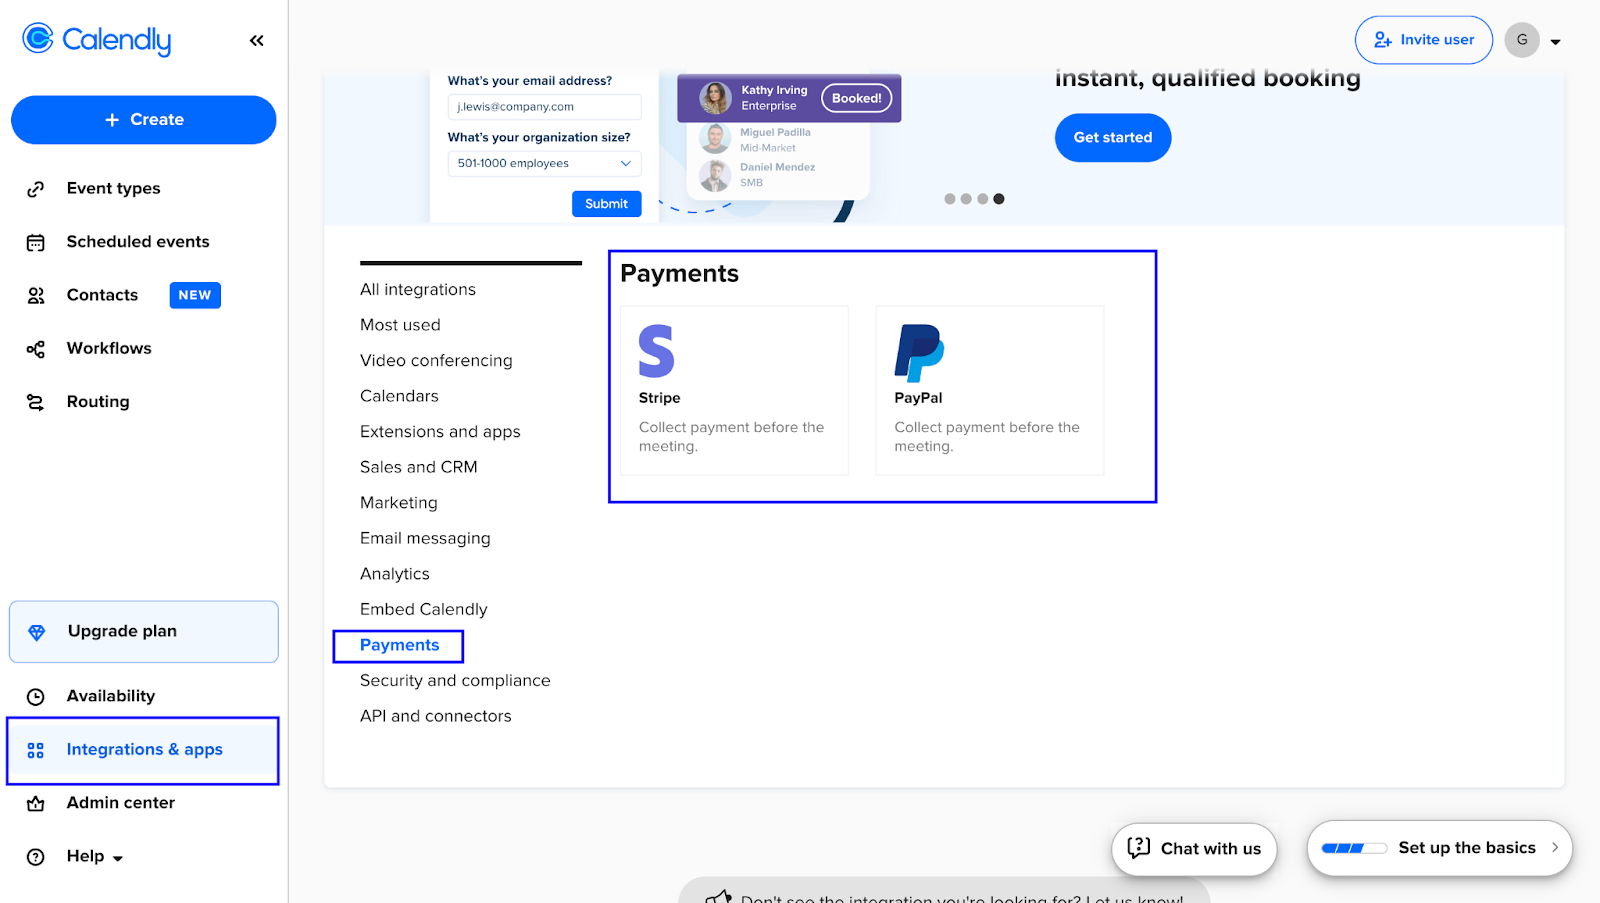
- For collecting payments at the time of session confirmation, you need a premium subscription on Calendly
- Connect your payment gateway accounts (Only Paypal US or Stripe is available as an option)
- Follow the same process as listed above in the section Setting Up Free Meetings
To compare paid plans and upgrade, please visit - Calendly Pricing. To learn more about the specific steps on how to setup your Payment gateway integrations, visit Calendly X PayPal & Calendly X Stripe.
Setting Up Paid Sessions Via Knorish
If you prefer to handle payments through your payment gateway accounts connected with Knorish, follow these steps.
- Add your preferred payment gateway to your Knorish account.
- Ensure your payment setup is correctly configured.
- Create a course on Knorish for the type of meeting to be offered.
- Use the Page Builder within the course curriculum to embed the Calendly meeting link as an Inline embed, pop-up widget, or pop-up text
- Publish the course
- Create a landing page for the course
- Update page details in page settings
- Click on Edit with Visual Builder to edit the page
- Add CTA buttons on the page
- Connect the CTA buttons to the Knorish course checkout
- Click Save to save changes
That’s it. The page will be live, ready for sharing. Your learners and customers can click on the CTA button, complete the payment and access the Calendly link for setting up a session with you. Since MS Teams is also integrated, Calendly will automatically reserve your calendar on MS Teams and send a confirmation email with the MS Teams meeting link as a reminder as well.
💡 Important Considerations
- Calendar availability and time slots will be managed by Calendly. Ensure to set up the hours and days of availability accordingly.
- Should you need, you may add multiple calendar accounts on Calendly to sync your availability.
- Integrate your chosen payment gateway account on Knorish following the steps here: https://knowledge.knorish.com/integrations#payment-gateways