Email templates already exist that automatically are sent on certain events such as Course purchase, team invites. The platform automatically picks up the logo information from site settings available under the website builder on the site dashboard. Here you get options to upload logos for websites, user dashboard (students), emailers, and site favicon.
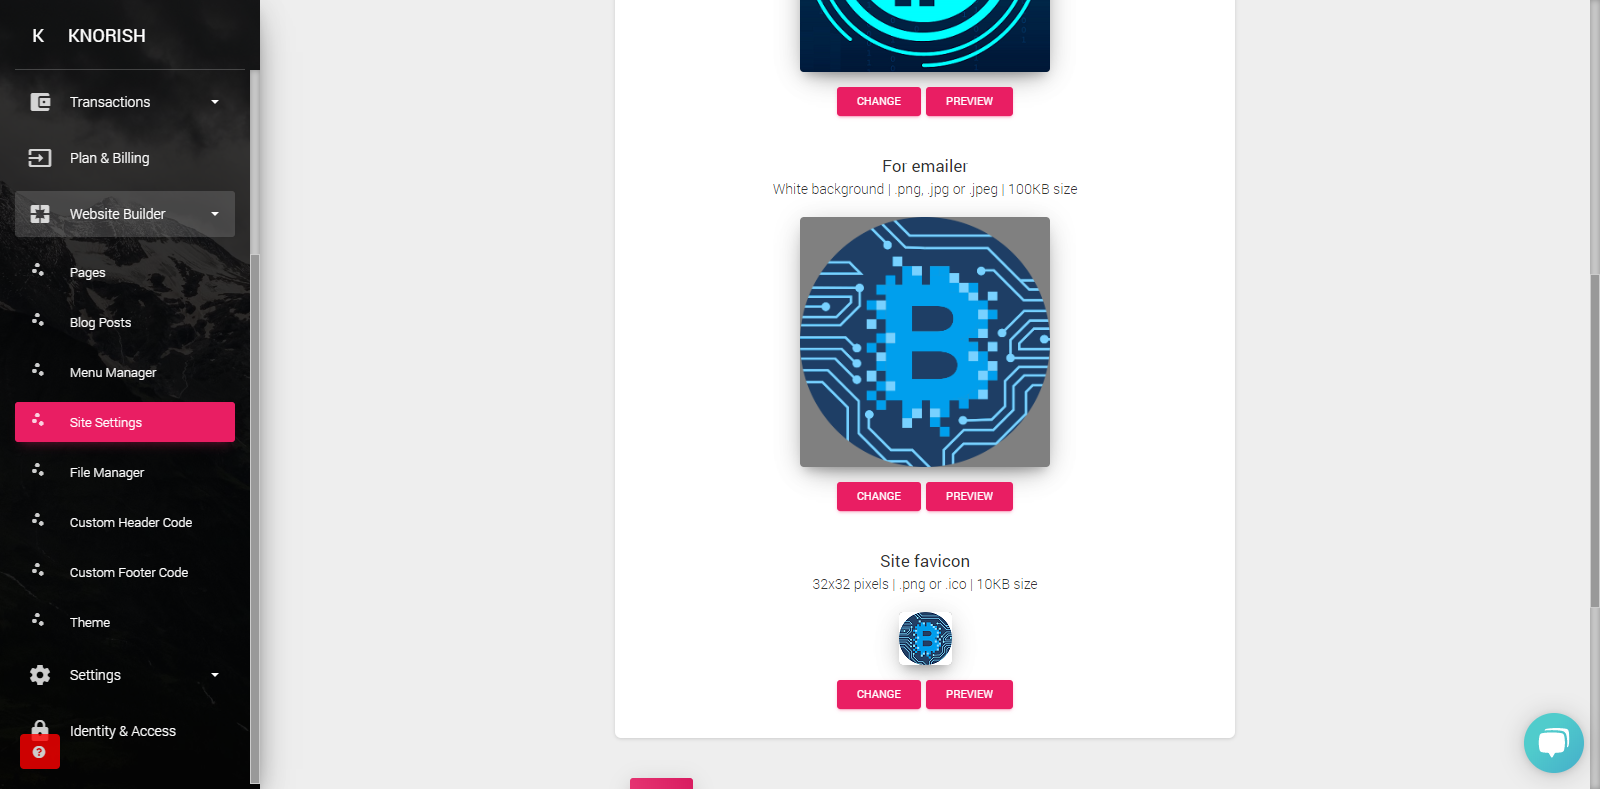
However, in case you wish to add your own custom logo, you can also do this by following the steps listed below:
Adding custom logos to automatic email notifications
![]()
- Log in to the Dashboard
- Click on the Web-site builder
- Go to File Manager
- Upload logo file
- Scroll up to the top
- Copy the logo file link in Notepad
- Open Templates in Settings
- Select the Template to customize
- Click Reset the template.
- Reopen the template
- Double click on the logo space on top
- Paste the copied link in URL settings
- Click OK to finish the upload
Important Considerations
Logo Size: The recommended logo size is max-width 250px and max-height 150px to adjust per requirements. Usually, the first link saved in File Manager is the last file uploaded.
If required, the size of the logo can be altered while uploading. You can test the logo change and any changes that you have made in the template by sending a sample to yourself.