This article will guide you step-by-step on how to create an image gallery on Knorish and customize images on the platform.
To create an image gallery on your Knorish site, simply follow the same process as you would for any other page on the site: create a new page and add it to the menu.
You can add as many images as you choose using the snippets available in the Snippet panel, however, the size of an image shouldn’t be more than 1MB. This is to ensure that the page does not become too heavy and loads easily, especially on devices with low internet speeds.
To create the Image gallery, create the page and add it to the menu. Then access the page's edit mode. Add a banner section and the text for it.
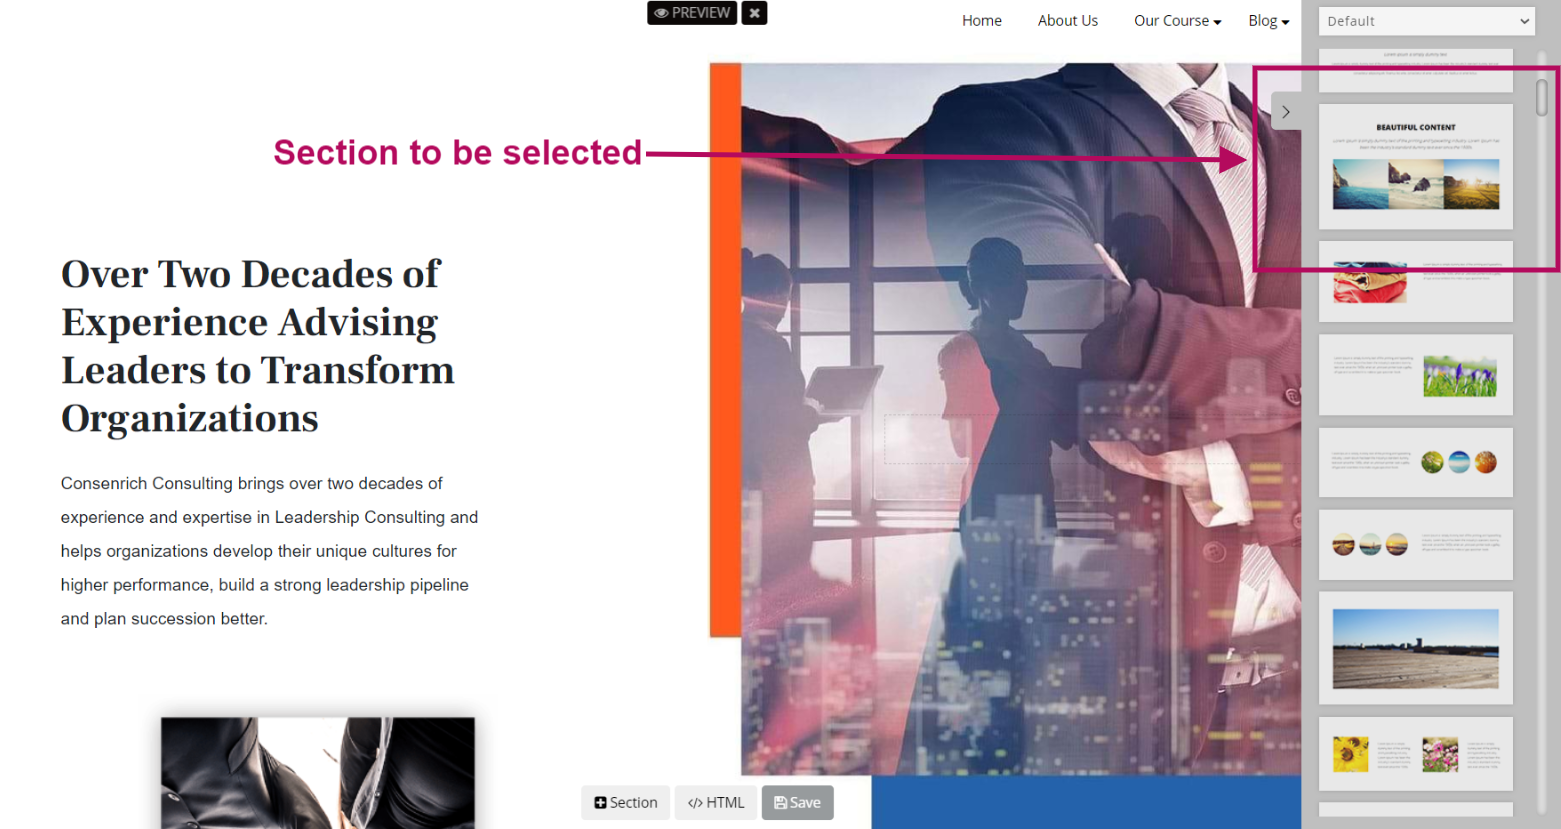
In the Snippet Panel, scroll down and select a snippet that has images. Hold your cursor and drag the section out from the toolbar into the webpage. Add it to the position where you wish to create the gallery.
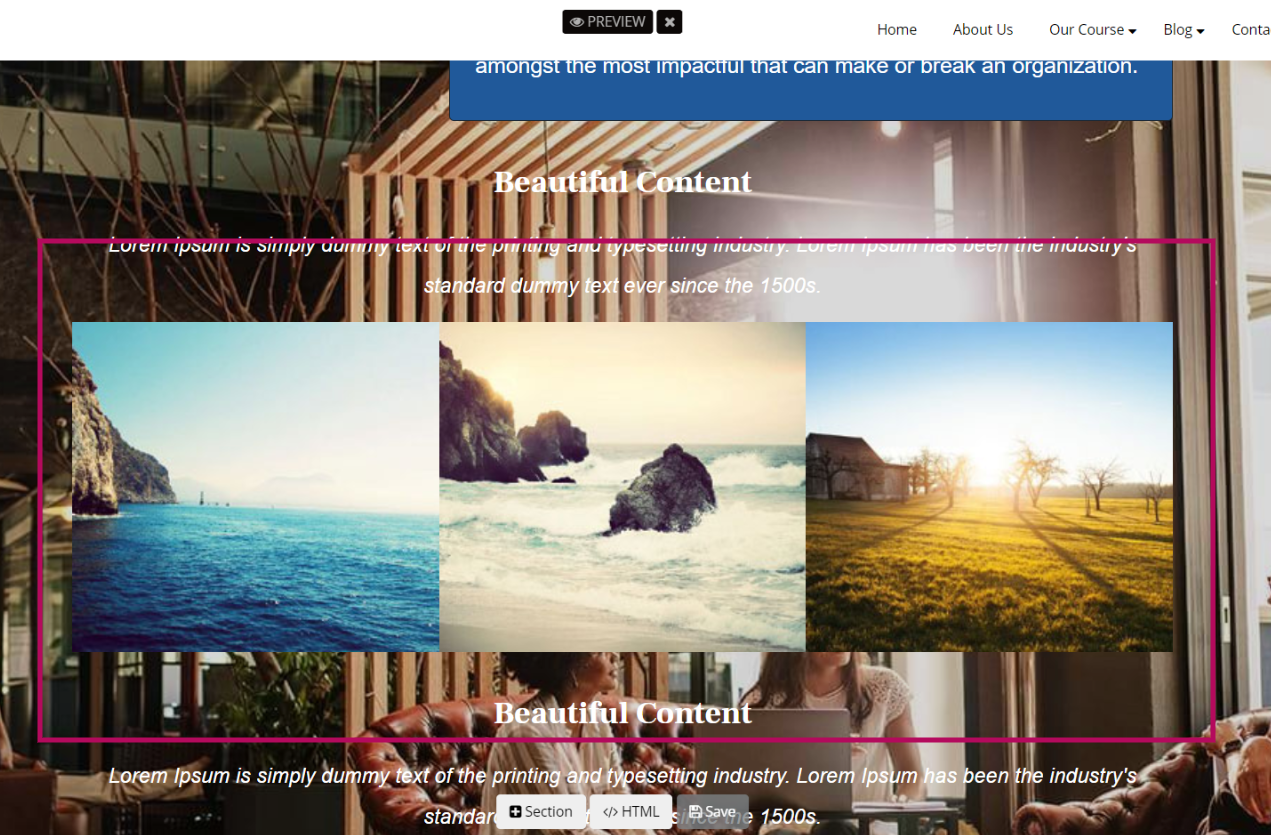
Now the new section has been added to the webpage. To add the new images, hover your cursor over the image and click on the ‘camera’ icon. Further, select the image file from your computer that you want to upload.
-1.png)
After selecting the image and opening it, the image will be displayed as shown above, but in a cropped manner. To solve this click on the ‘more’ button (3 dots). And select No Crop.
In case you want the images to be clickable and enlarged on click, select the option marked in the image 'Click to enlarge'.
.png)
You can even zoom in or zoom out the image from the addition and subtraction button. to ensure the image fits as you wish. Once set, click on 'ok' to complete the upload process. If in case you want the complete image to be displayed leave the ‘No crop’ option checked. By doing this you would have added a few images to the page.
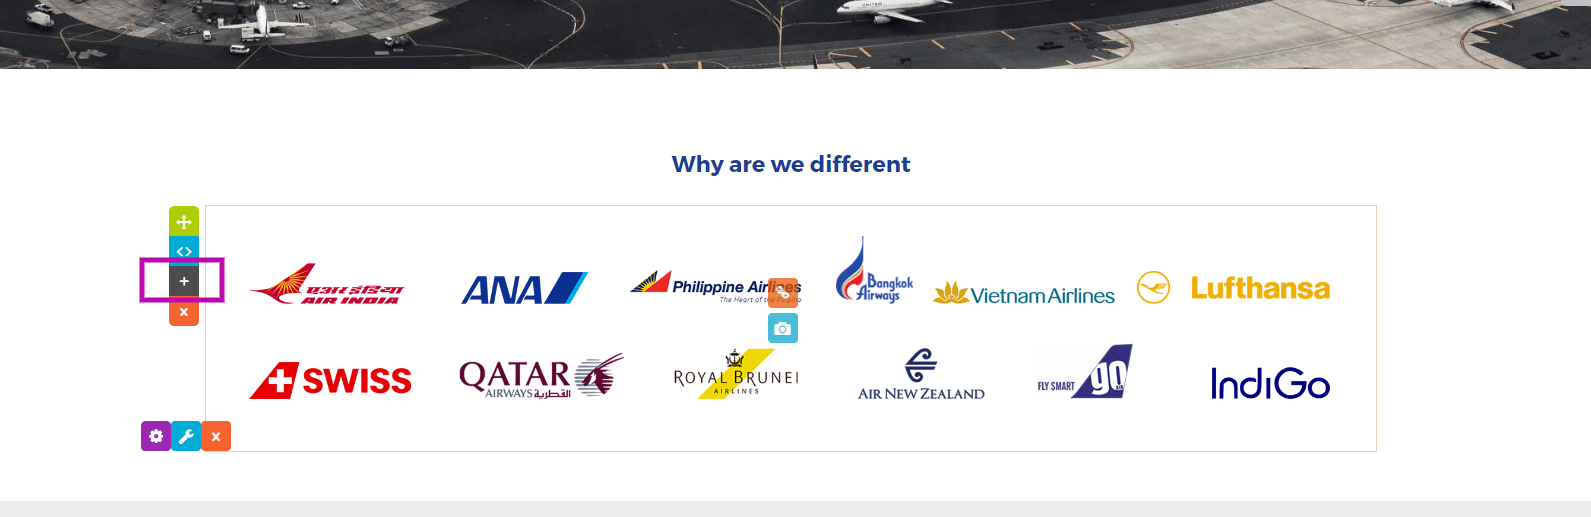
To add more, simply click on the + Icon to duplicate the snippet and repeat the process until all the required images are added.
Note: Ensure to save the page regularly and to avoid losing progress.
Head to the preview mode to confirm whether the image has been uploaded or not. We highly recommend you upload one image at a time and Save the page after the upload.
If the admin or any IAM user is already editing the page, other users cannot edit it at the same time and will receive the following error message:
