As an email marketing campaign tool, Mailchimp is a very powerful tool to send out emails to your learners and prospective users from your email lists.
For more information on features offered in the Free and Premium Mailchimp plans, please visit: https://mailchimp.com/pricing/compare-plans/
Benefits of connecting Mailchimp with Knorish: Automatic Audience creation and Analytics
When you integrate Mailchimp with Knorish, the platform creates an audience automatically. This is done because the automation then creates one master list where these events are analyzed:
- Abandoned Cart
- Add to Cart
- Course Purchase
Note: As of Sept 2020, Mailchimp currently tracks conversions only in US dollars. For international currencies, you may not get accurate information about course sales data.
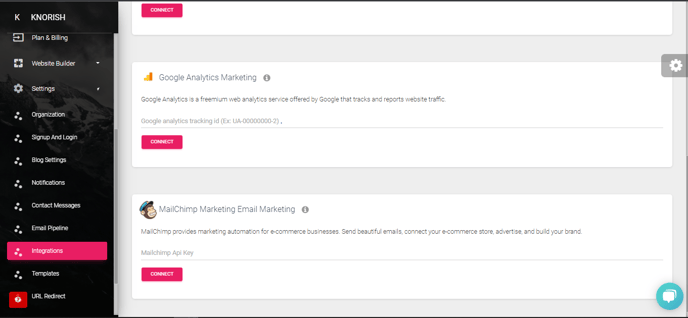
Mailchimp Integration
To enable Mailchimp integration, you need an API Key that allows the integration to happen smoothly. To do that, simply log in to your Knorish account. Under Publisher Dashboard, at the bottom of the page, you would see the option for MailChimp Integration.
MailChimp API Key Generation
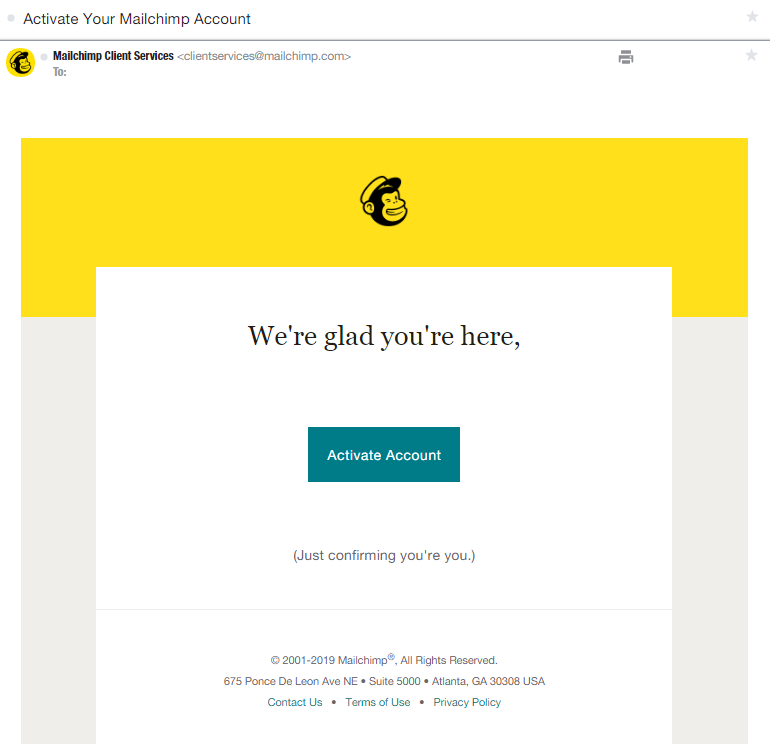
To initiate the process, sign up on MailChimp by visiting MailChimp Sign Up, Click on the link for MailChimp and create an account. Once the account is created, activate your account by clicking on the link sent to your email ID by MailChimp. Shown below is a screenshot of the same:
Free Mailchimp Accounts
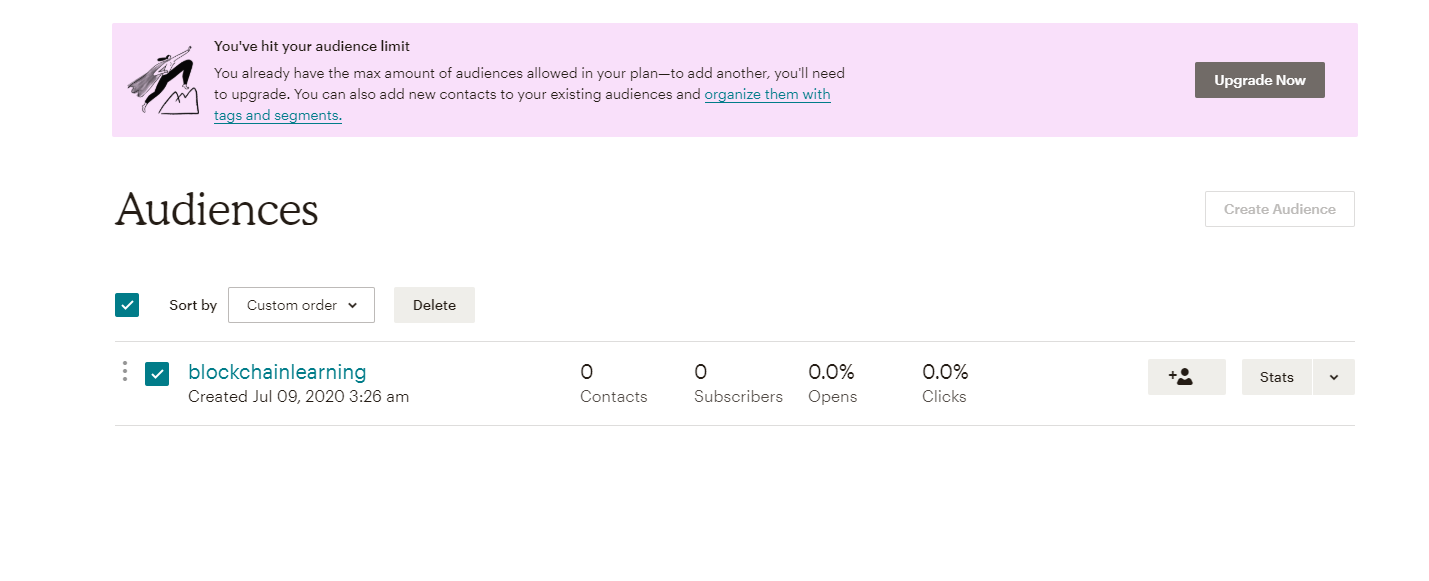
Only 1 audience list is allowed on Mailchimp for free accounts
This is created by default on every signup. But when you integrate Mailchimp with Knorish, the platform will try and create another audience. As such, the integration would fail.
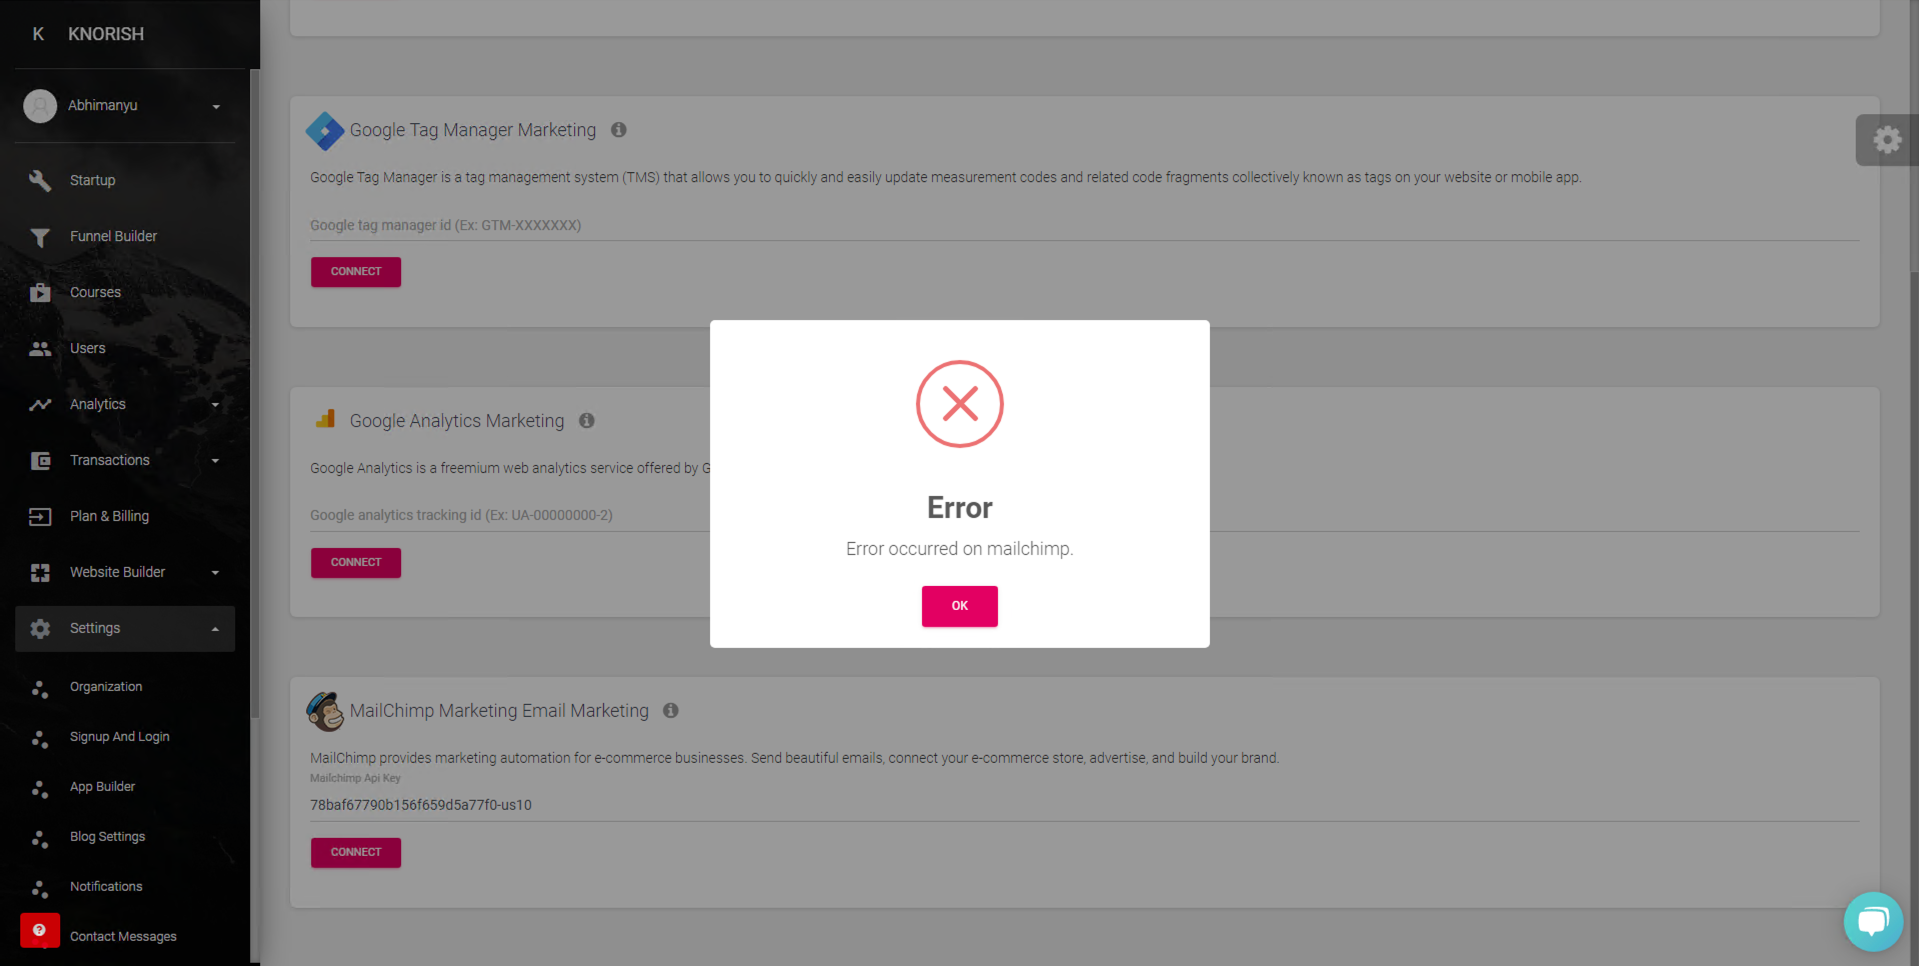
Note: To enable MailChimp integration successfully, you would need to first delete the default audience created by Mailchimp on signup.
This error may appear because Mailchimp introduced a new pricing model that limits the number of lists/audiences for free users. If you want to continue using free MailChimp, then you should delete the existing list (which MailChimp creates automatically for you).
To delete that list, open the URL https://admin.mailchimp.com/lists/ and then select the list to delete.
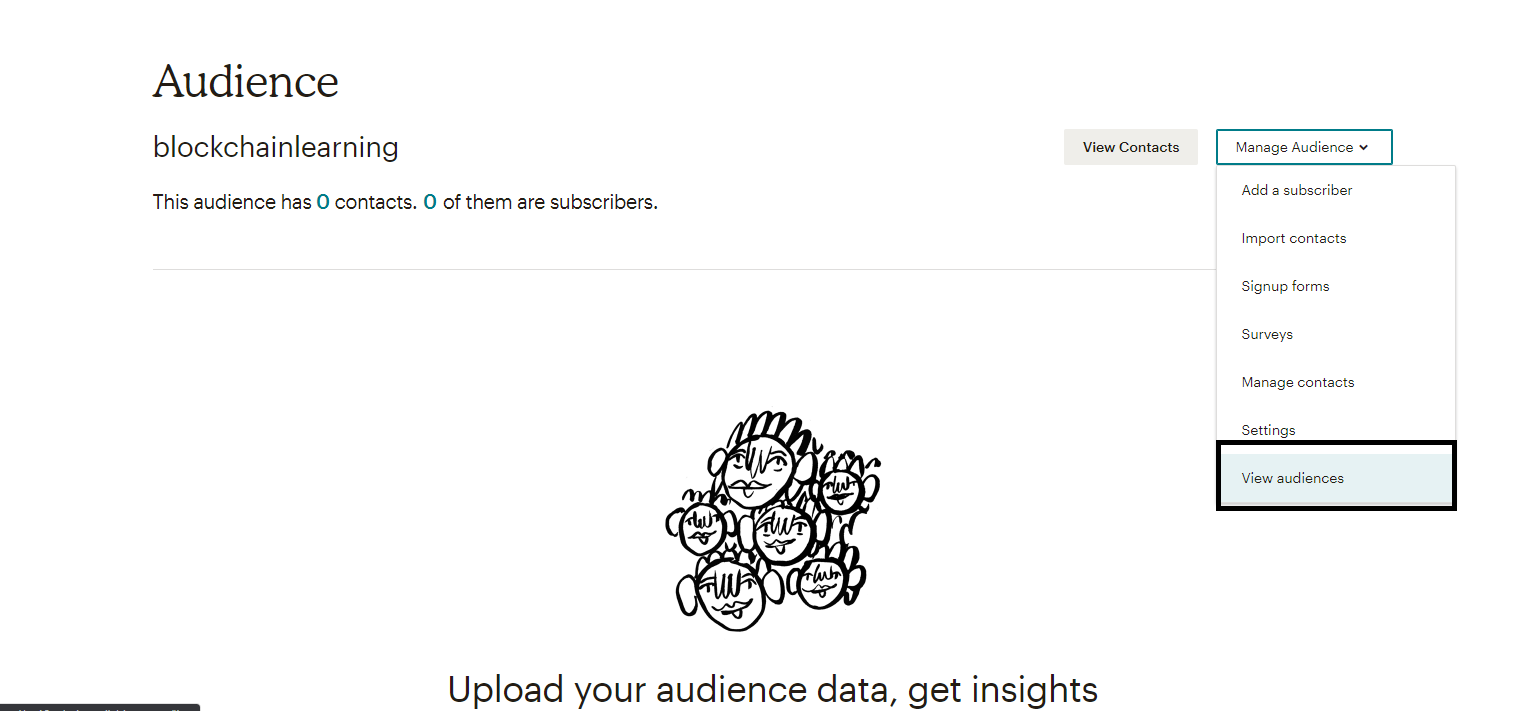
Once you are logged in to the Mailchimp account, click on the Current Audience drop-down and choose View Audiences.
Select the audience created and click on Delete.
Mailchimp Integration
- Once the account is created, sign in to your Mailchimp account. Click on the Profile Icon and select Account.
- Click on the Extras Tab and select API Keys.
- Under 'Your API Keys' you would see an API Key already generated. The same can be used for integration in Knorish or should you wish you can always generate a new one.
- Simply copy the code and log in to your Knorish dashboard
- Access the Settings sections and select Integrations then select Marketing
- Under the Mailchimp section, paste the API key you copied earlier.
Once the integration has been completed, you will see a green icon at the bottom which means the integration has been successful besides the popup message notifying the completion.
Key Inputs you should implement after Integrating Mailchimp
Setting up the Mailchimp account right from the beginning would save a lot of hassle down the road when there's a lot of user information added over time. As such, do consider setting up automated workflows that would allow you to automate a lot of email-based marketing tasks saving you tons of time.
Create an Abandoned Cart Email
Get abandoned customers to come back to your site and complete the purchase with automated emails. Learn more here: Create Abandoned Cart Email
Organize your audience and label Users
Add Tags to organize your audience and label contacts based on the information you have about them. Learn more here: Getting Started with Tags
Automate Marketing Workflows For Contacts
Add tags, send targeted emails, and accomplish other important tasks. Learn more here: Create a Customer Journey
