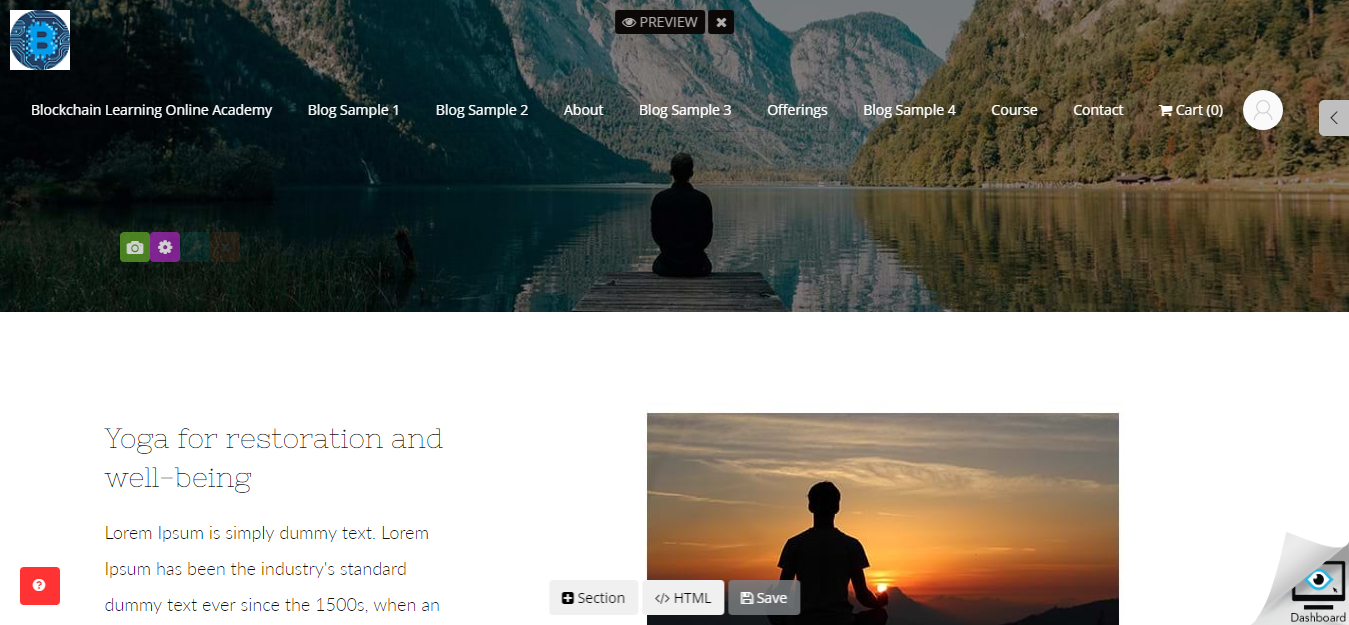
This article shows you how to edit the menu on your website and learn how to create a better structure with tabs and sub-tabs. As shown in the example below, once the pages are created, the menu would populate all the pages separately. You would then need to arrange the menu in a hierarchy as per the page structure.
To start editing the menu, access your account's dashboard, go to website builder > Pages > Menu Manager.
Covered In This Article
- Changing the Color of the Menu Bar
- Menu Structuring
- Creating Tabs and Sub-tabs
- Add a Page Made With the New Page Builder (V3) On A Site Created with the Old Page Builder (V2)
Changing the color of the menu bar
Your site theme dictates the style and look of your site. You have the option to use attractive color schemes for your menu bar to make it look more attractive by following these steps:
- Go to website builder > site settings> menu design
- Choose the menu option that you prefer out of the following three :
- Top fixed transparent menu bar
- Top fixed solid menu bar
- Transparent scrollable menu bar
- You can also change the menu text color and menu background color in the same section if you want
- Check or uncheck the display login and account menu
- Click Save once done
Menu Structuring
To order the menu as required, access website builder > pages.
Here you would see the current menu structure. Simply rearrange the menu by dragging and dropping the pages as per the requirements.
Additionally, in case you want to add a Sub-Tab under a Tab, you could also do it as shown in the GIF above. By moving a page tab forward, it automatically becomes the sub-tab of the page tab listed directly above.
Creating Tabs and Subtabs
Another use of the menu editor can be when you need to create a sub-tab. In a menu, you can then add a word that will have other pages listed in it. For example, Courses could list the name of all the courses available on the site.

How to create a tab and subtabs on Knorish
Follow the process below to enable tabs and subtabs on your Knorish Page
- Under the website builder, access the pages section.
- To create a tab on the menu, simply click on the New Page Button and complete the details listed on the next page.
- Then click on Display In Top Menu. and then select Publish page.
- Save the changes and once the page has been added to the pages list, head back to the website builder and align pages in the menu as needed.
Remember: This is an important step since the websites created are mobile responsive. In case of too many tabs, the website's menu and the page may not display properly on a mobile device.
Add a Page Made With the New Page Builder (V3) On A Site Menu Built On The Old Page Builder (V2)
Follow the steps below to add a V3 page to a V2 site menu.
Here're the steps to follow:
- Access the dashboard
- Click on Website Builder > Pages
- Open the page built on new website builder (v3)
- Copy the page URL/Link
- Come back to the Pages tab
- Click on External Link > New External Link
- Fill the required fields and paste the URL/Link of new website builder (v3) page
- Click on Save
- Go to Menu Manager
- Rearrange the menu as per the requirements
- Click on Save and Preview the changes.
The menu will be realigned as needed.
To Learn More about Managing Knorish Site Pages, visit: https://knowledge.knorish.com/manage-knorish-site-pages
