This article goes over the basic steps on how to connect your custom domain or subdomain to the https://YOURSITE.knorish.com site created at Knorish.
Covered in this article
- Get a domain name
- How to connect a subdomain on Knorish?
- How to connect a root domain on Knorish?
- How to connect your domain or subdomain using Cloudflare on Knorish?
- Change or update domain or subdomain
- Block Knorish subdomain results from search engines when a custom domain is connected
- Troubleshooting issues
Get a domain name
Purchase a domain from a domain registrar such as GoDaddy etc., or if you have one already, then you can connect your existing domain. Do note, that it is not mandatory for you to purchase the domain from GoDaddy. You can choose any domain registrar of your choice. In the article below, we will use a domain acquired from GoDaddy to show you the process. To learn how to purchase a domain, read here: How to buy a domain name in 3 steps on GoDaddy.
How to connect a subdomain on Knorish?
Connecting your subdomain is a straightforward and quick process that won't take up much of your time. Refer to the video and steps below to easily connect your subdomain.
Follow these steps to easily connect your subdomain on Knorish:
- Login to your GoDaddy Account
- Access DNS
- Copy the domain name
- Access Knorish Dashboard
- Under Settings, click on Integrations
- Inside the Domain section, under Add your domain, add the subdomain that you wish to use
- Click on Save and then click OK in the pop up
- Under Step 2, you will find 2 CNAME properties listed
- Copy the text listed under Name and Value for the first CNAME
- On GoDaddy, Under DNS Records, click on Add New Record
- Under Type, from the dropdown, select CNAME
- Under Name and Value, paste the respective text copied from your Knorish account and click on Save
- Repeat the process for the second CNAME data as well
- Once updated and saved, head back to the Domain section on Knorish and click on Validate to complete the process
How to connect a root domain on Knorish?
Connecting your root domain (aka primary domain) is a straightforward and quick process that won't take up much of your time. Refer to the video and steps below to easily connect your root domain.
Follow the steps below to effortlessly connect your root domain (aka primary domain) on Knorish:
- Login to your GoDaddy Account
- Access DNS
- Copy the domain name
- Access Knorish Dashboard
- Under Settings, click on Integrations
- Inside the Domain section, under Add your domain, paste the root domain that you wish to use
- Click on Save and then click OK in the pop up
- Under Step 2, you will find 3 CNAME properties listed
- Copy the text listed under Name and Value for the first CNAME
- On GoDaddy, Under DNS Records, click on Add New Record
- Under Type, from the dropdown, select CNAME
- Under Name and Value, paste the respective text copied from your Knorish account and click on Save
- Repeat the process for the second CNAME data as well
- Upon receiving the error notification - Record data is invalid, click on Forwarding
- Click on Add Forwarding
- From the first dropdown, select https:// and type in www. and add your domain name
- Under Forward Type, select Permanent (301) and click on Save
- Once done, head back to DNS Records
- Copy the text list under the third CNAME property
- On GoDaddy, Under DNS Records, click on Add New Record
- Under type, from the dropdown, select CNAME
- Under Name and Value, paste the respective text copied from your Knorish account and click on Save
- Once updated and saved, the new properties would reflect under DNS Records
- Head back to the Domain section on Knorish and click on Validate to complete the process
- Your root domain will be verified and connected
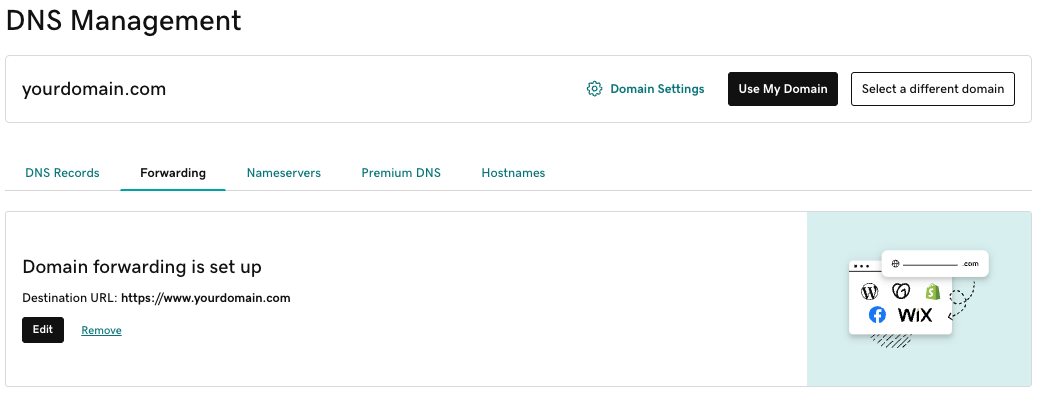
Note: While using GoDaddy (and some other domain providers except Cloudflare), you might encounter limitations when attempting to create a CNAME record with the @ (representing the root domain). These providers do not offer domain flattening features. In such cases, consider implementing domain forwarding from the non-www version of your site to the www version.
How to connect your domain or subdomain using Cloudflare on Knorish?
In any case if you want to consider Cloudflare as your DNS solution or you may have purchased domain from Cloudflare, you can do that as well similar to above approaches. Refer to below video and steps to connect your domain using Cloudflare.
Follow the steps outlined below to seamlessly connect your domain using Cloudflare:
- Login to your GoDaddy Account
- Access DNS
- Copy the domain name
- Create or login to a new Cloudflare account
- On Cloudflare, under Websites section, click on Add a site
- Under Enter your domain, paste the domain name from GoDaddy and click on Continue
- Under the pricing page, select the Cloudflare Free plan and click Continue
- On the Review your DNS records page, click Continue
- From the Change Nameservers page, under Your assigned Cloudflare nameservers, copy both the nameservers
- Head back to GoDaddy and select Nameservers under DNS Management
- Next, click on Change Nameservers and select I’ll use my own nameservers
- Paste both the nameservers from Cloudflare and click Save
- Click Continue and refresh the page to ensure the nameservers are updated
- On Cloudflare, click on Check Nameservers now and click on Continue
- Once the nameservers have been updated, you will see the updated message on the overview section
- Under SSL/TLS, click on Overview and then change the SSL/TLS encryption mode to Full
- Head back to DNS on Cloudflare and select Records
- Open the DNS Management on GoDaddy, copy the domain name
- Access Knorish Dashboard
- Under Settings, click on Integrations
- Inside the Domain section, under Add your domain, paste the root domain or subdomain that you wish to use
- Click on Save and then click OK in the pop up
- Under Step 2, you will find 2 CNAME properties listed
- Copy the text listed under Name and Value for the first CNAME
- Head back to Cloudflare, click on DNS to access the Records section
- Click on Add record
- Under Type, from the dropdown, select CNAME
- Under Name and Target, paste the respective text copied from your Knorish account
- Ensure Proxy status is turned on
- Click Save
- Repeat the process for the second CNAME data as well
- Once updated and saved, head back to the Domain section on Knorish and click on Validate to complete the process
Note: You may not need a CNAME record for _acme-challenge when the domain is already on Cloudflare and its proxy is ON.
Change or update domain or subdomain
Once you have successfully connected your domain or subdomain, you might need to change it in the future. Make sure to disconnect your current domain or subdomain and then connect your new domain using the respective process above.
Block Knorish subdomain results from search engines when a custom domain is connected
In case your website is not ready for indexing, you can select the option to stop search engines from indexing the site
If you are ready to have the site indexed by search engines and want to connect your domain or subdomain, you may not want to see the SEO results pointing to the Knorish subdomain.
Note that when a custom domain is connected, the robot setting will allow SEO and indexing for your custom domain or subdomain. At the same time, it will disallow SEO for the knorish subdomain. You will still be able to access your site with the existing knorish subdomain however that has no bearing whatsoever.
Note: Search engines take time to recrawl your site, so if you have made domain changes or changes in search engine settings recently, you need to allow sufficient time for search engines to update the results. You could get the site indexed faster with the Google Search Console. Learn more here: Get site indexed by Google faster
Troubleshooting issues
Some domain providers (like namecheap.com) may not work if you enter full source host/domain name. In this case consider using www and @ as source.
