Keeping your users informed about the status of their courses is essential for a seamless learning experience. This increases user engagement and ultimately, course completion before the course expires. This guide will walk you through the detailed process on how to set up automated email reminders for course expiry notifications on Knorish.
Covered in this article
- About This Feature
- Set Up Course Expiry Reminder Emails
- Edit Or Delete Course Expiry Reminder Emails
About This Feature
This reminder email provides an update to your users that the content/course they have signed up for is about to expire. The emails are branded with your website’s logo and site name.
You have the ability to edit this email template to better match your branding, or include additional details you would like to provide to your users. Learn more about customizing your email templates here: How to customize an automatic email template?
Set Up Course Expiry Reminder Emails
In this section, we'll guide you through the process of setting up course expiry email reminders. Watch the step by step video to learn how to easily keep your users informed about course deadlines.
- Go to your account dashboard and access the Courses section
- Click on the Builder icon of the course for which you want to set up reminder emails for Course Expiry
- Head to the Publish Page and update the Course Expiry in days
- Once done, click on the email here option and you’ll be redirected to the Course Settings page
- Head to the Course expiry email reminders section
- Click on + Reminder email
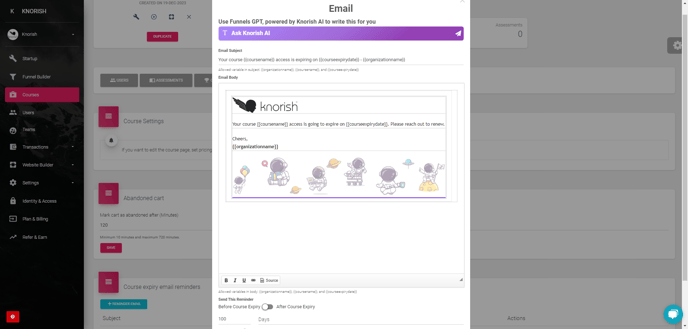
- Add your email subject line and text as required
- You can also use Funnels GPT here to write the email for you
- Select before/after course expiry
- Enter the number of days when the email needs to be sent
- Update your email Id and click on Send Test Email Button to receive the test email
- Click on Save
Edit Or Delete Course Expiry Reminder Emails
In this section, we'll guide you through the processes of editing or deleting course expiry reminder emails to ensure your communications are always up-to-date and relevant.
- Access the Knorish dashboard
- Click on Courses
- Select the appropriate course and click on course name
- Navigate to Settings
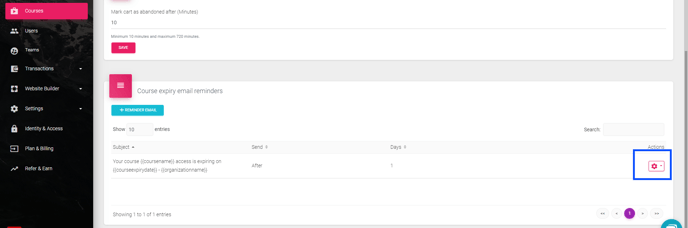
- Scroll down to the Course Expiry Email Reminders section
- Click on the settings icon on the right
- Select Edit to modify the email text and its settings, or Delete to remove the email
💡 Important Considerations
- Before configuring expiry emails, make sure that the course has an expiration day set. If the course's expiration day is set to 0, it indicates that the course has no expiration, and as a result, you will not be able to set up expiry emails.
- You can choose to send the reminder emails before/after course expiry and also define the number of days when the email should be triggered.
- A maximum of 4 reminder emails can be setup for course expiry.
- The emails are triggered at 12:00 AM IST (this timing may vary depending on the availability of services and workload levels).
- Max 730 days course expiry limit can be added.
- You can set up the universal email template by visiting Dashboard > Settings > Templates > select Course Expiry Email, make the necessary changes as required and Save Changes. Learn more about setting Course Expiry here: Setting Up Course Expiry.
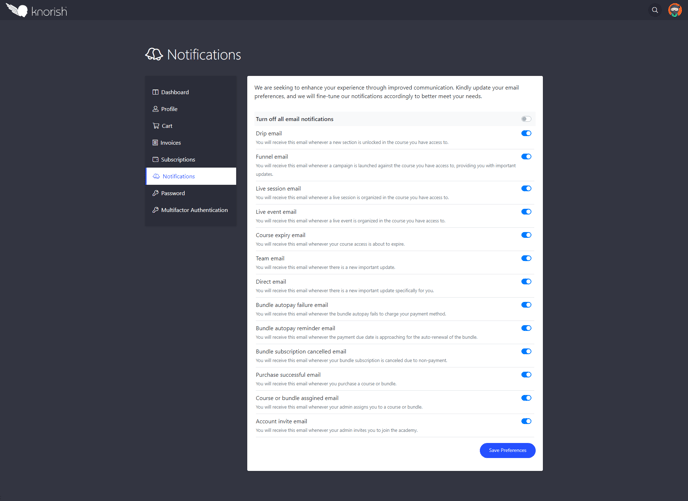
- You cannot turn off or enable the expiry emails for a single user; however, they can opt out by going to their dashboard, selecting 'notifications,' and using the toggle bar to switch it off.
- Variables {{organizationname}}, {{coursename}}, and {{courseexpirydate}} can be included in your emails subject line and body for personalization. When added, these variables automatically insert your organization name, the specific course name, and its expiry date, respectively.