Starting with Knorish is a simple process. Listed below is what you need to do to complete the process:
-
- Sign Up on Knorish
- Select a Plan for Your Account
- Configure Your Account
Sign Up on Knorish
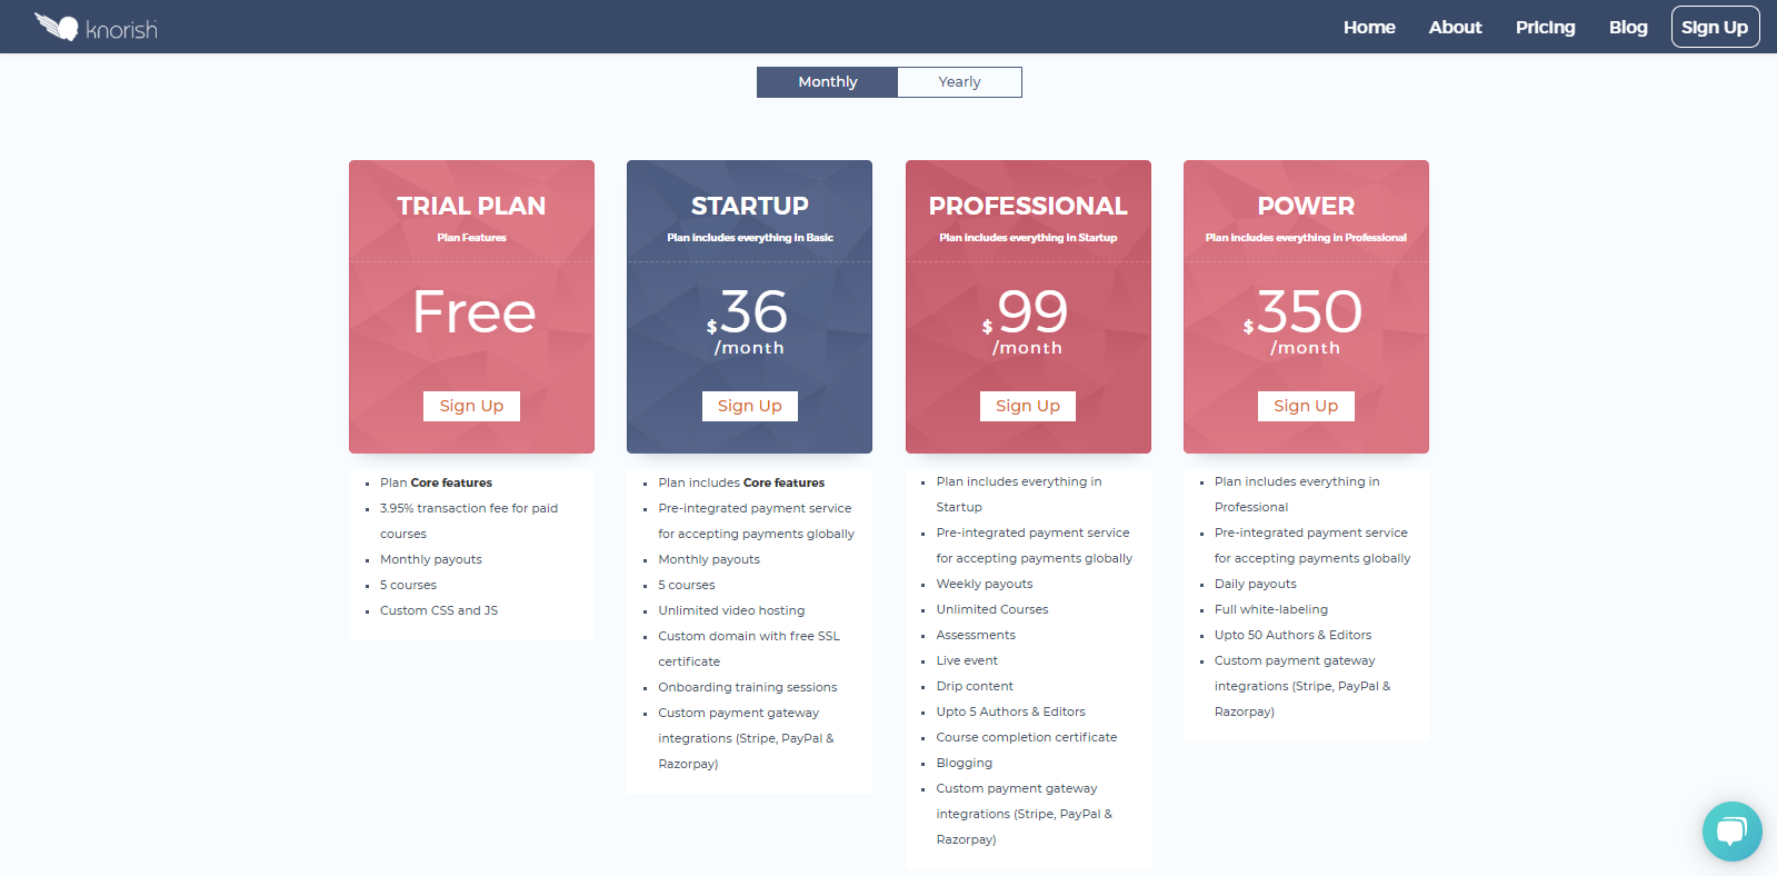
The first thing you’ll need to do in order to start creating courses is sign up for an account and create a school. In order to sign up, you need to choose a plan that best fits your needs based on the features listed and click 'Select'. All you need is a working email ID and that is it!
Select a Plan for Your Account
Should you choose, you can start with the Free Trial Plan and set up your account to get a feel of the power of Knorish!
Once selected, on the signup screen, enter the details as requested.
-1.png)
SUBDOMAIN: The name of your online school or academy is to be mentioned here in continuation and without any space or special characters.
Note: You may choose to use the domain that you create here (https://yoursite.knorish.com) or can also whitelabel it with another domain (https://yoursite.com). To learn how to do this, read more here: How to whitelabel your knorish site
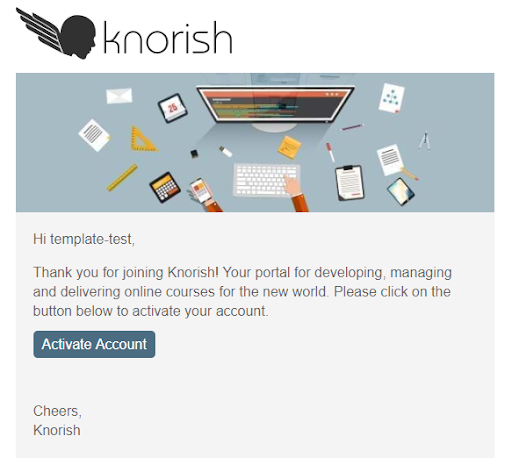
Enter other details such as name, email ID, Password, etc. and click on Sign Up. Note that the password needs to be minimum 6 and 50 characters. Once you click on Sign Up, you would get the Email Verification notification as shown below:
The Account Verification email with the Activation link is sent automatically to your Email ID. Should you choose, you can click on the 'Activate Account' button and continue as shown below or Simply click on 'Continue to Website' and move further. Note that you would still need to verify the email at a later date.
Configure Your Account
Once you select either of the options and continue further, the next page you would see is the Welcome Page. The Page lists 8 cards which act as the starter pack for your account. Please follow the 8 steps listed to create amazing courses and an equally awesome website and you would be on your way to successfully selling your own online courses.
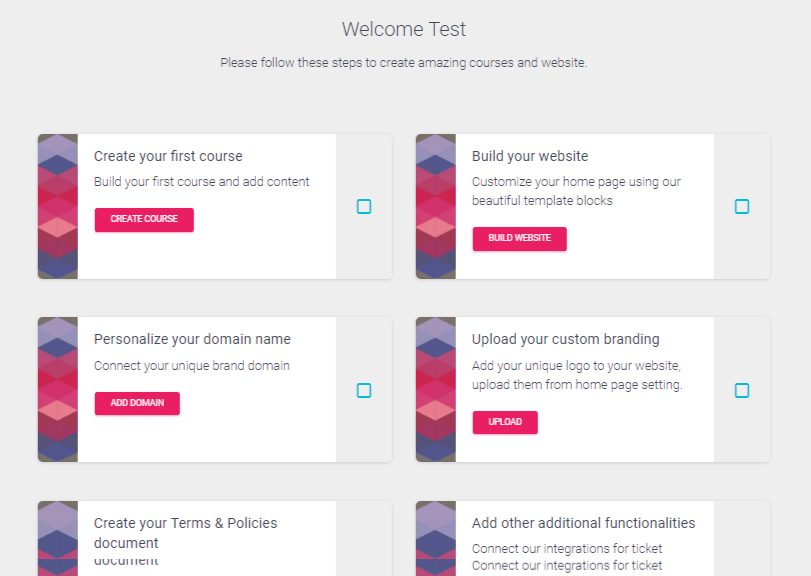
The 6 Primary Steps Include:
- Create your first course
- Build your website
- Personalize your domain name
- Upload your custom branding
- Create your Terms & Policies document
- Add other additional functionalities
All these 6 primary steps are explained in detail in our Knowledge Base
Getting Additional Help
Additionally, there are 2 more cards listed which support in helping you learn how to launch your online course and ask more questions if needed:
- Learn how to launch your course
- Learn more and ask questions
Refer to these at any point in time for additional support or contact us via the 8th card for questions and clarifications. You can also contact us via email: support@knorish.com.
Complete each of the 6 primary steps and you would have a fully fledged online course available and ready for selling online.
Knorish offers several support resources designed to help you in every step of the online course creation and selling process.
To learn more about available support resources, visit our Get Help Section.
Liked what you read?
You can start anytime with our free plan, however, if you need more powerful features, take a look at what’s offered with our paid plans on our Pricing Page. You can upgrade your subscription at any time.