These features enable a faster checkout process by reducing the number of steps involved in the signup and the checkout process.
We have enabled the Express and Passwordless checkout because we are absolutely sure that it provides a much better and faster sign-up experience for your users. This will ultimately help you succeed in getting more signups, leads, conversions, and sales.
Covered In This FAQ:
- Difference between the current checkout and the new checkout
- What Is Passwordless Checkout?
- How to enable passwordless checkout on your site?
- What Is Express Checkout?
- How to enable Express Checkout on your site?
Difference between the current checkout and the new checkout
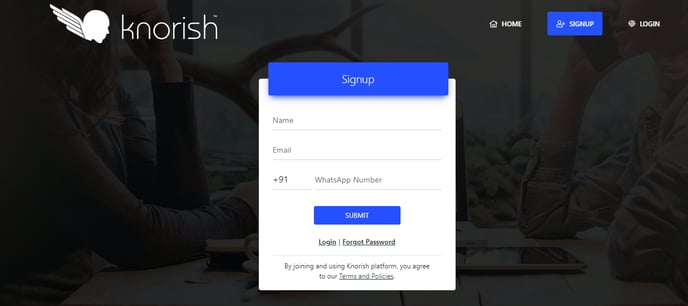
The current checkout process involves three steps for users to complete post-clicking on the landing page's call to action button:
- Sign Up Page - Here you can ask for multiple details including name, email ID & phone number
- Payment Page - where payment details are listed and the user is supposed to click on Pay Now to initiate the next step.
- Payment Gateway trigger - for payment collection
Every step that gets added may lead to a lesser number of people, moving forward to the next step. Hence, eliminating as many steps as possible is better for your business.
What Is Passwordless Checkout?
Passwordless Checkout allows you to collect the necessary sign-up details from your customers like email addresses & phone numbers without requiring a password for signup. This is applicable for free and paid programs on Knorish.
Not requiring a password enables a faster check-out experience for your customers.
How to enable passwordless checkout on your site?
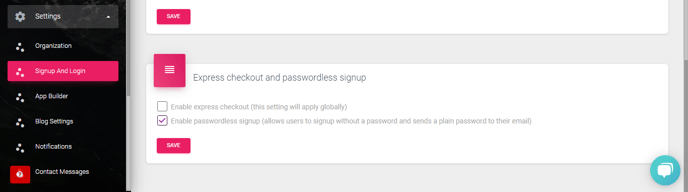
- After you log in, click on settings in your dashboard.
- Under Signup and Login, Click on ‘Enable passwordless signup’
- Click Save.
That’s it. Passwordless checkout is now set up on your site.
NOTE: On the same page, you may also consider other signup options like enabling a phone number capture, social sign in, and restricting parallel login.
What Is Express Checkout?
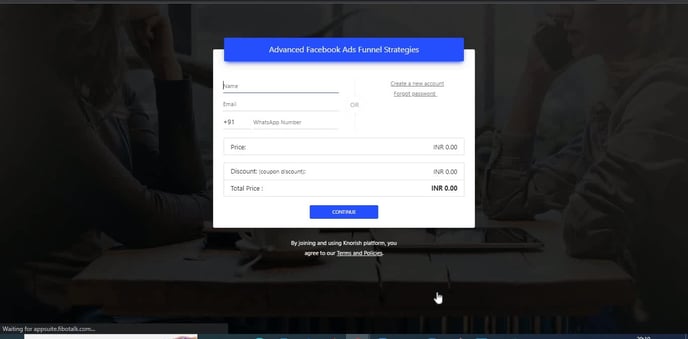
While a passwordless checkout eliminates the need for someone to enter the password, thereby removing one additional step in the process, Express Checkout combines 2 steps into one - Sign up and the payment page.
.png?width=688&name=Screenshot%20(182).png)
As seen from the image above, the payment page and the sign up page both have been combined as on.
How to enable Express Checkout on your site?
- After you log in, access the settings option in the dashboard
- Under Signup and Login, select the Express Checkout option.
- This selects the Passwordless option will by default.
- Click Save
That’s it. Express checkout is now set up on your site.
Important Considerations:
- Express Checkout and passwordless checkout will work for both free and paid courses.
- When Express checkout is selected, passwordless is also enabled automatically.
- While using express checkout, the name of the course is also reflected on the top of the signup form.
- A default password is sent to the user’s email ID after successful sign up.
- Once the signup is completed, a user will still stay logged in for the next 10 days approximately.
- In case the email is missed, or the password is forgotten, users can reset their password by clicking on forgot password or you may reset it for them from the dashboard.
- You can return to the original Checkout process at any time by following the same instructions and turning the toggle back off.
- These changes go live immediately, and students purchasing your course will use whichever checkout is currently active.